Thanks for the post, his post sure sounded in line with the situation I’m in. Someone on the OSMC forum had also suggest grounding both ends of the shielding.
I’m following a suggestion from there, and am going to try shielded CAT6 cable first. I’ll snip the jacks off the end, split out the twisted pair, solder to my connectors, and see if I can attach the shielding to ground. I suspect the cable will be a bit ugly, since the 10 pin connectors I’m using (not using all lines) crimp onto a ribbon cable.
I hope that fixes the problem. I’m on the Practical Machinist board pretty much every day and MotionGuru has tons of industrial experience.
I was looking at your board page. How much does the motor heat up under load? The 6:1 reduction ratio is a lot less than I would have expected to see. I have some smaller motors and tires for an off road robot that I keep planning to start on “any day now” so it was interesting to see that I might not need the huge reduction to keep the motor at a happy speed.
I wish I could easily use a higher reduction, but to get much more you’d have to do a two stage reduction. At some point the sprocket on the wheel gets larger than the wheel itself.
The motor doesn’t get hot, it will warm slightly after 15 minutes of screwing around on the skateboard. I think I can get away with all that due to the motor being overkill for the application. I don’t think I’ve ever hit the 50% mark in terms of throttle.
There’s an interesting torque/current calculator here that may help you out a bit. I honestly didn’t use it when building the original skateboard, I just went with my gut that the motor was enough. The “Amps to spin wheels” describes how many amps the motor would pull if it was to break traction, not just roll.
I rewired the microcontroller and motor controller with a length of shielded Cat6 cable. It made all the difference in the world, things run as smooth as silk now.
Now that that mystery is behind me, I’ll get back to the last few items (there always seems to be a few more to take care of). Hopefully I’ll be riding this thing soon.
I finally got a few hours this weekend to make the last few mechanical modifications. I was a bit nervous, it’d be a drag to really screw something up with the second to last cut.
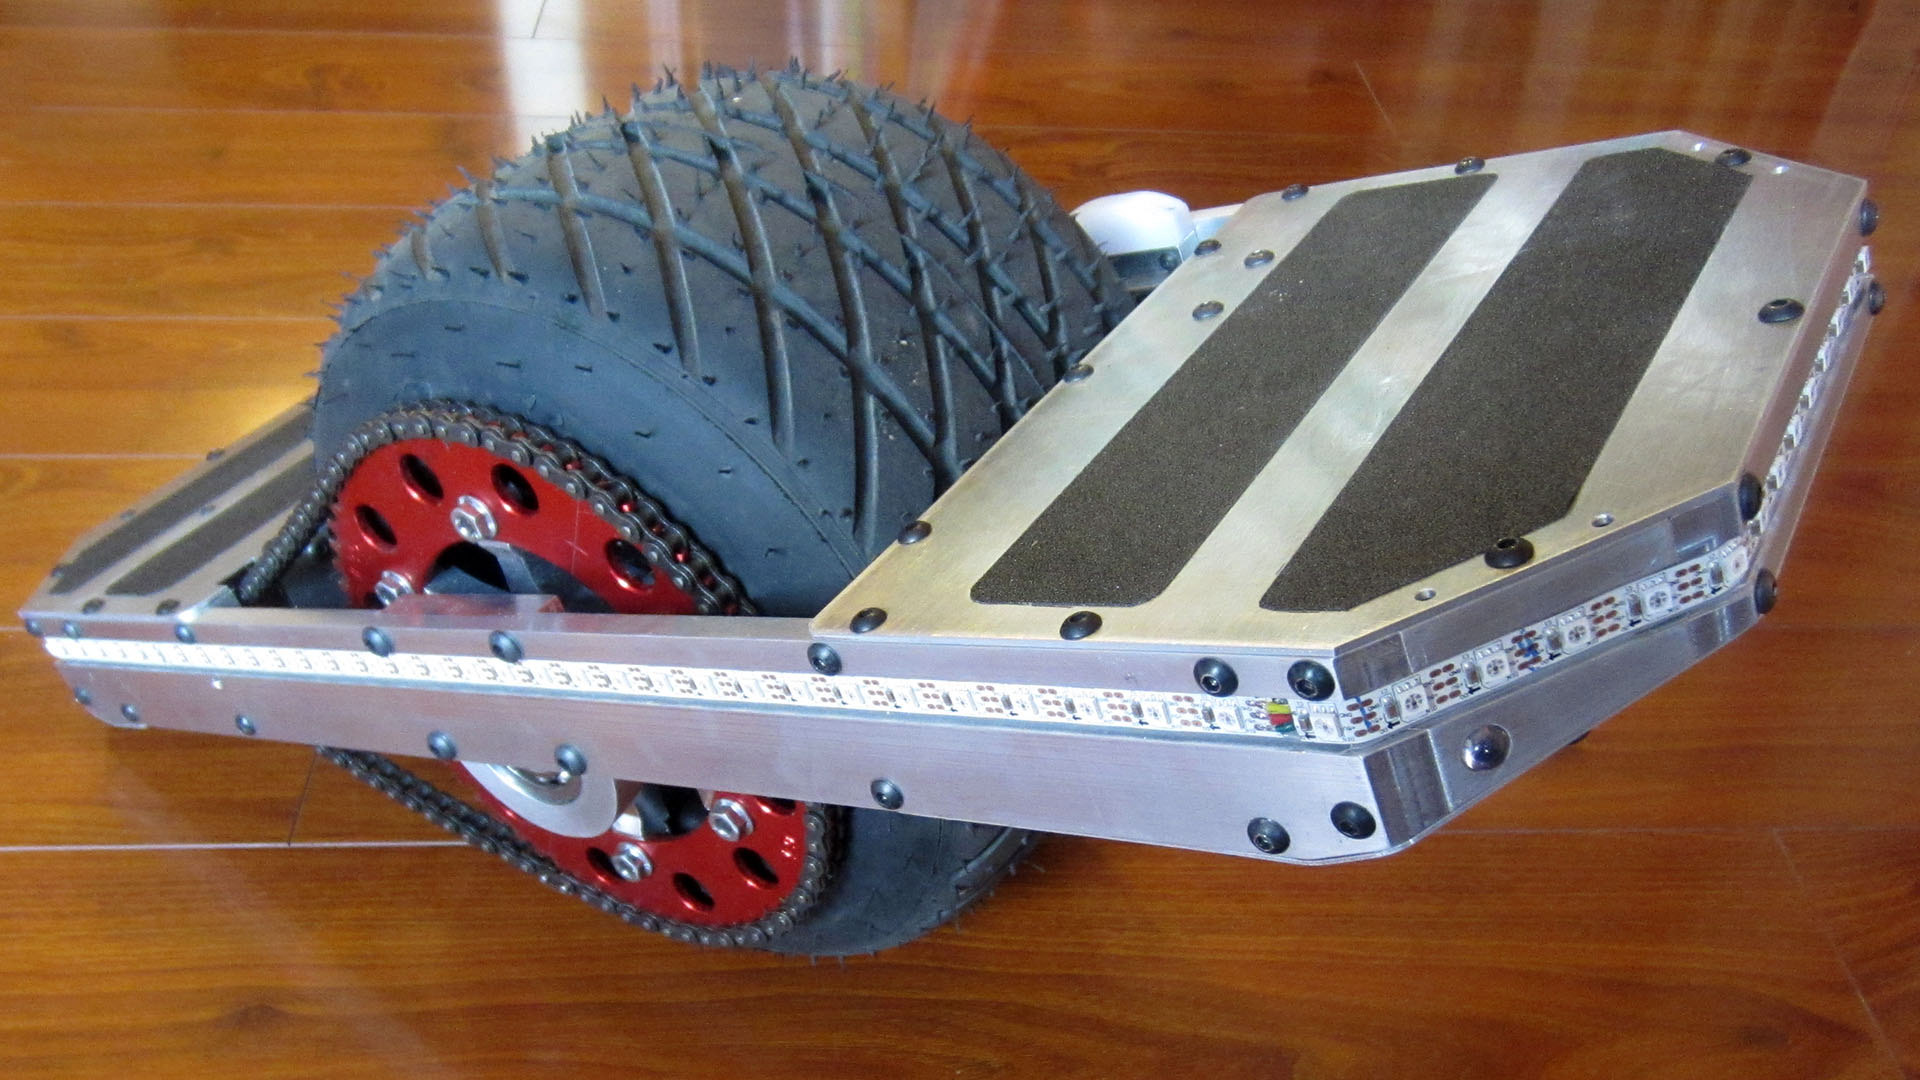
I installed a few cable guides, along with the IR/Bluetooth module.
The next time around I’ll definitely try to run fewer individual wires from one place to another. Using another 10 pin connector would have been good, rather than running individual connectors for different functions.
The only thing left to install is the light strip around the perimeter. I want to do this when I’m good and sure I don’t have to take the frame apart again. I’ll be using some 3M tape to affix the LED strip, it’d be a pain is the a$$ to remove.
I have some very conservative parameters set up for the balancing algorithm, and the thing is rideable, but isn’t very agressive. My next move is to spend some time with the software so I can tweak those setting remotely to see which values feel “right”.
I put the finishing mechanical touches on the board this weekend. Now it’s just down to software.
The LED strip went on easy. There ended up being a total of 103 addressable LEDs on the strip.
[
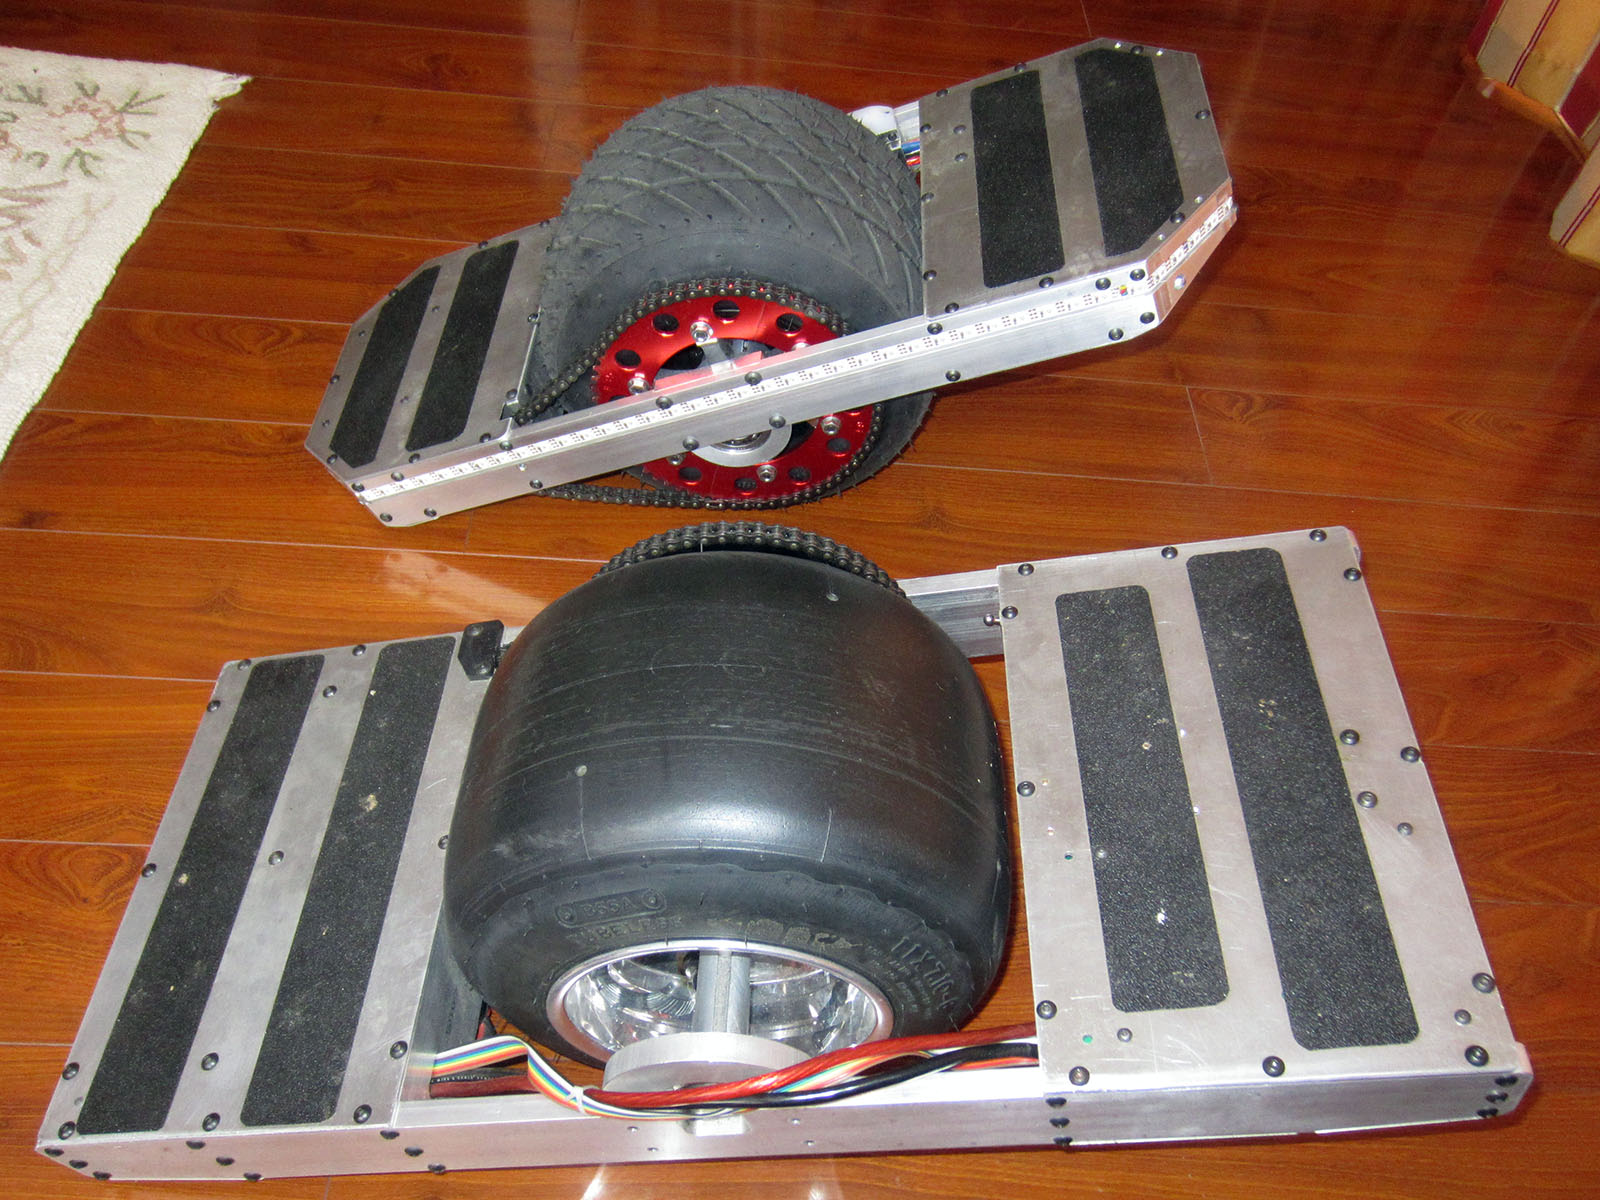
Here’s a comparison of the two boards. The new one is definitely lighter and sleeker than the original.
[
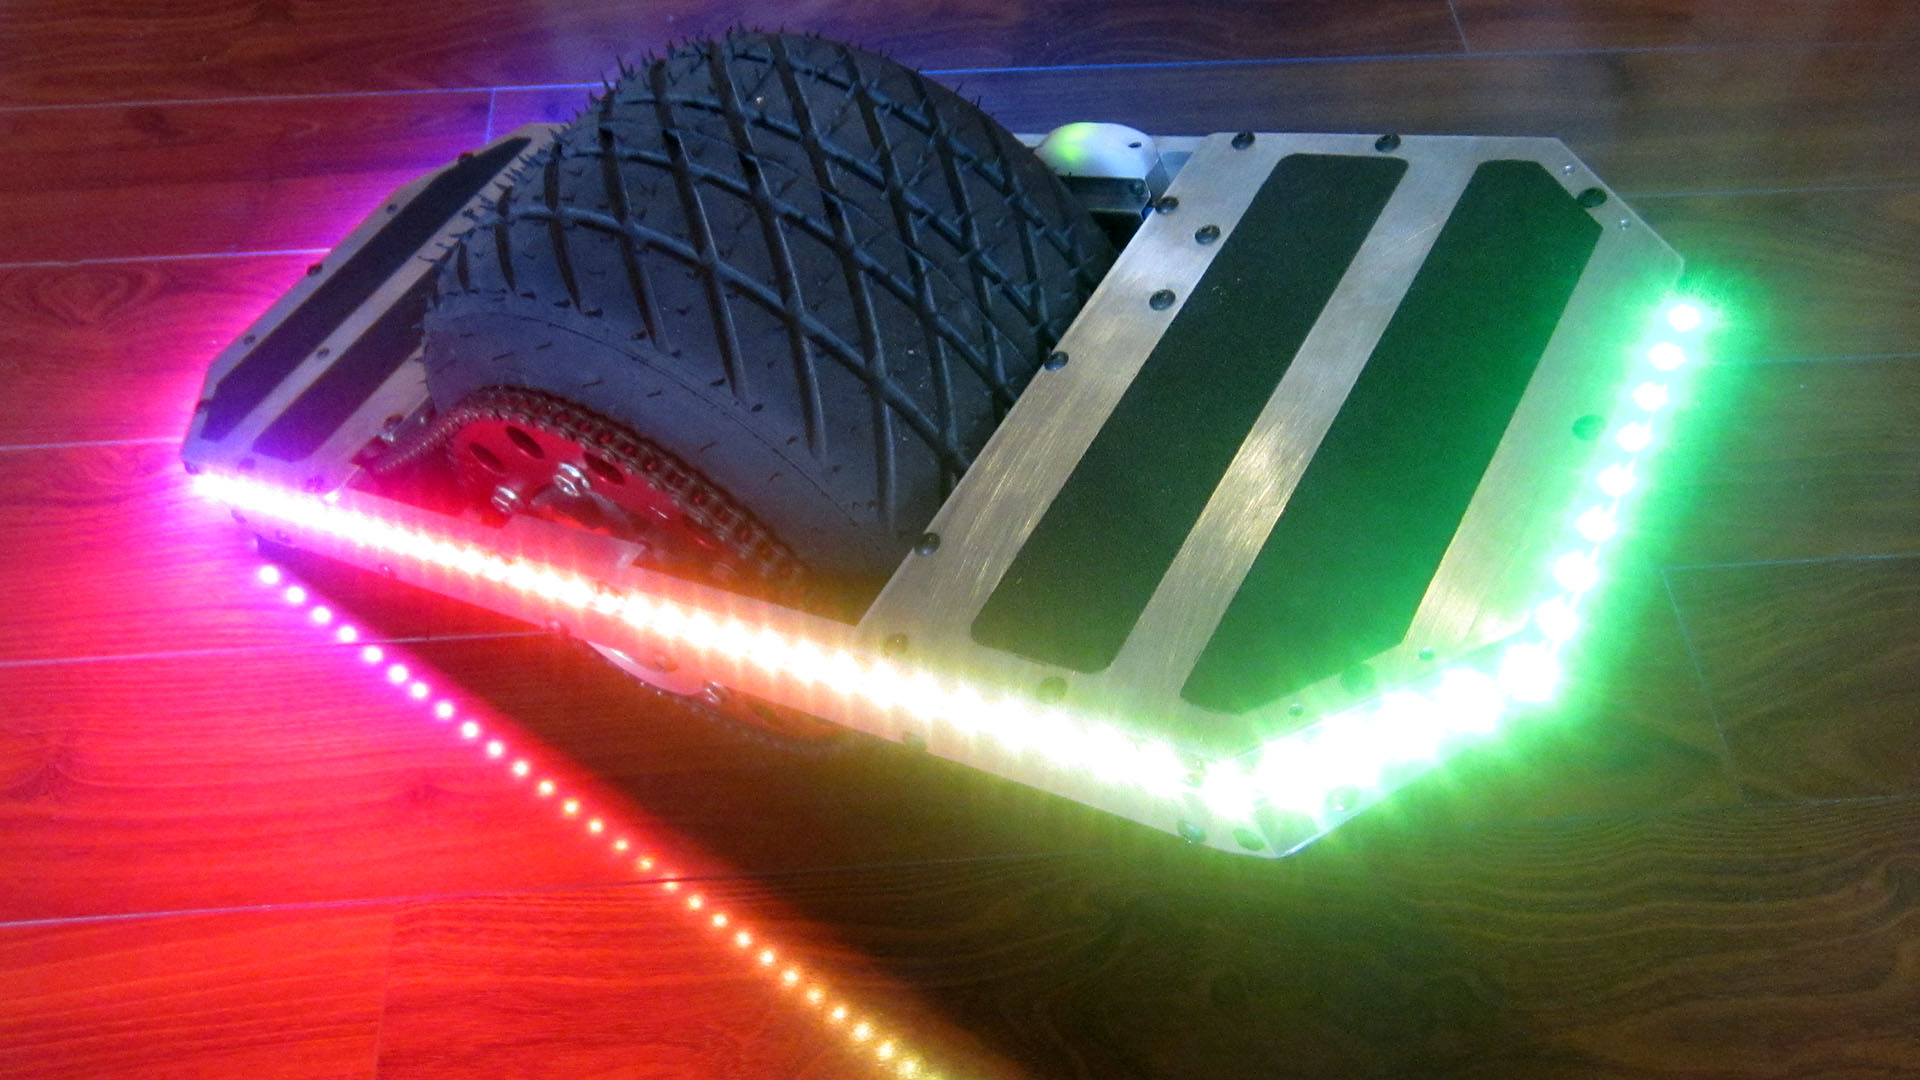
The LED strip really adds some flair.
[
I tuned the balancing variables and it rides quite well. It’s definitely trickier to ride than the original, but much more maneuverable.
I’ve started documenting the overall project, and will post a link once that’s polished up a bit. I have more software to refactor, more animations to add, etc before I consider this truly done. But it’s been a great project so far. I’ll also get some video shot of the board in action.
I’ll update this here and there as I refine things. I’m still waiting for some nice weather to shoot some video of the thing outside at speed. I’m also planning on doing a rewrite of the software to improve the organization a bit. So I’m not done, just winding down, and ready to move onto other projects. Thanks for following along!


