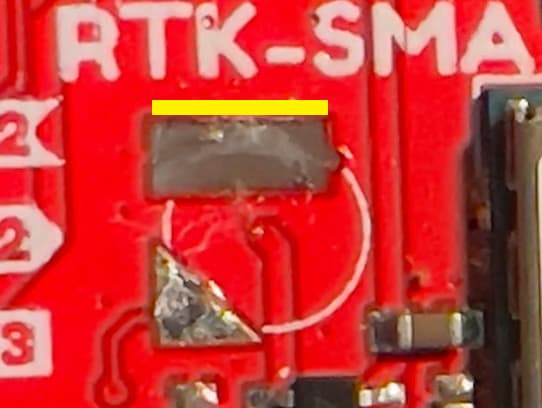
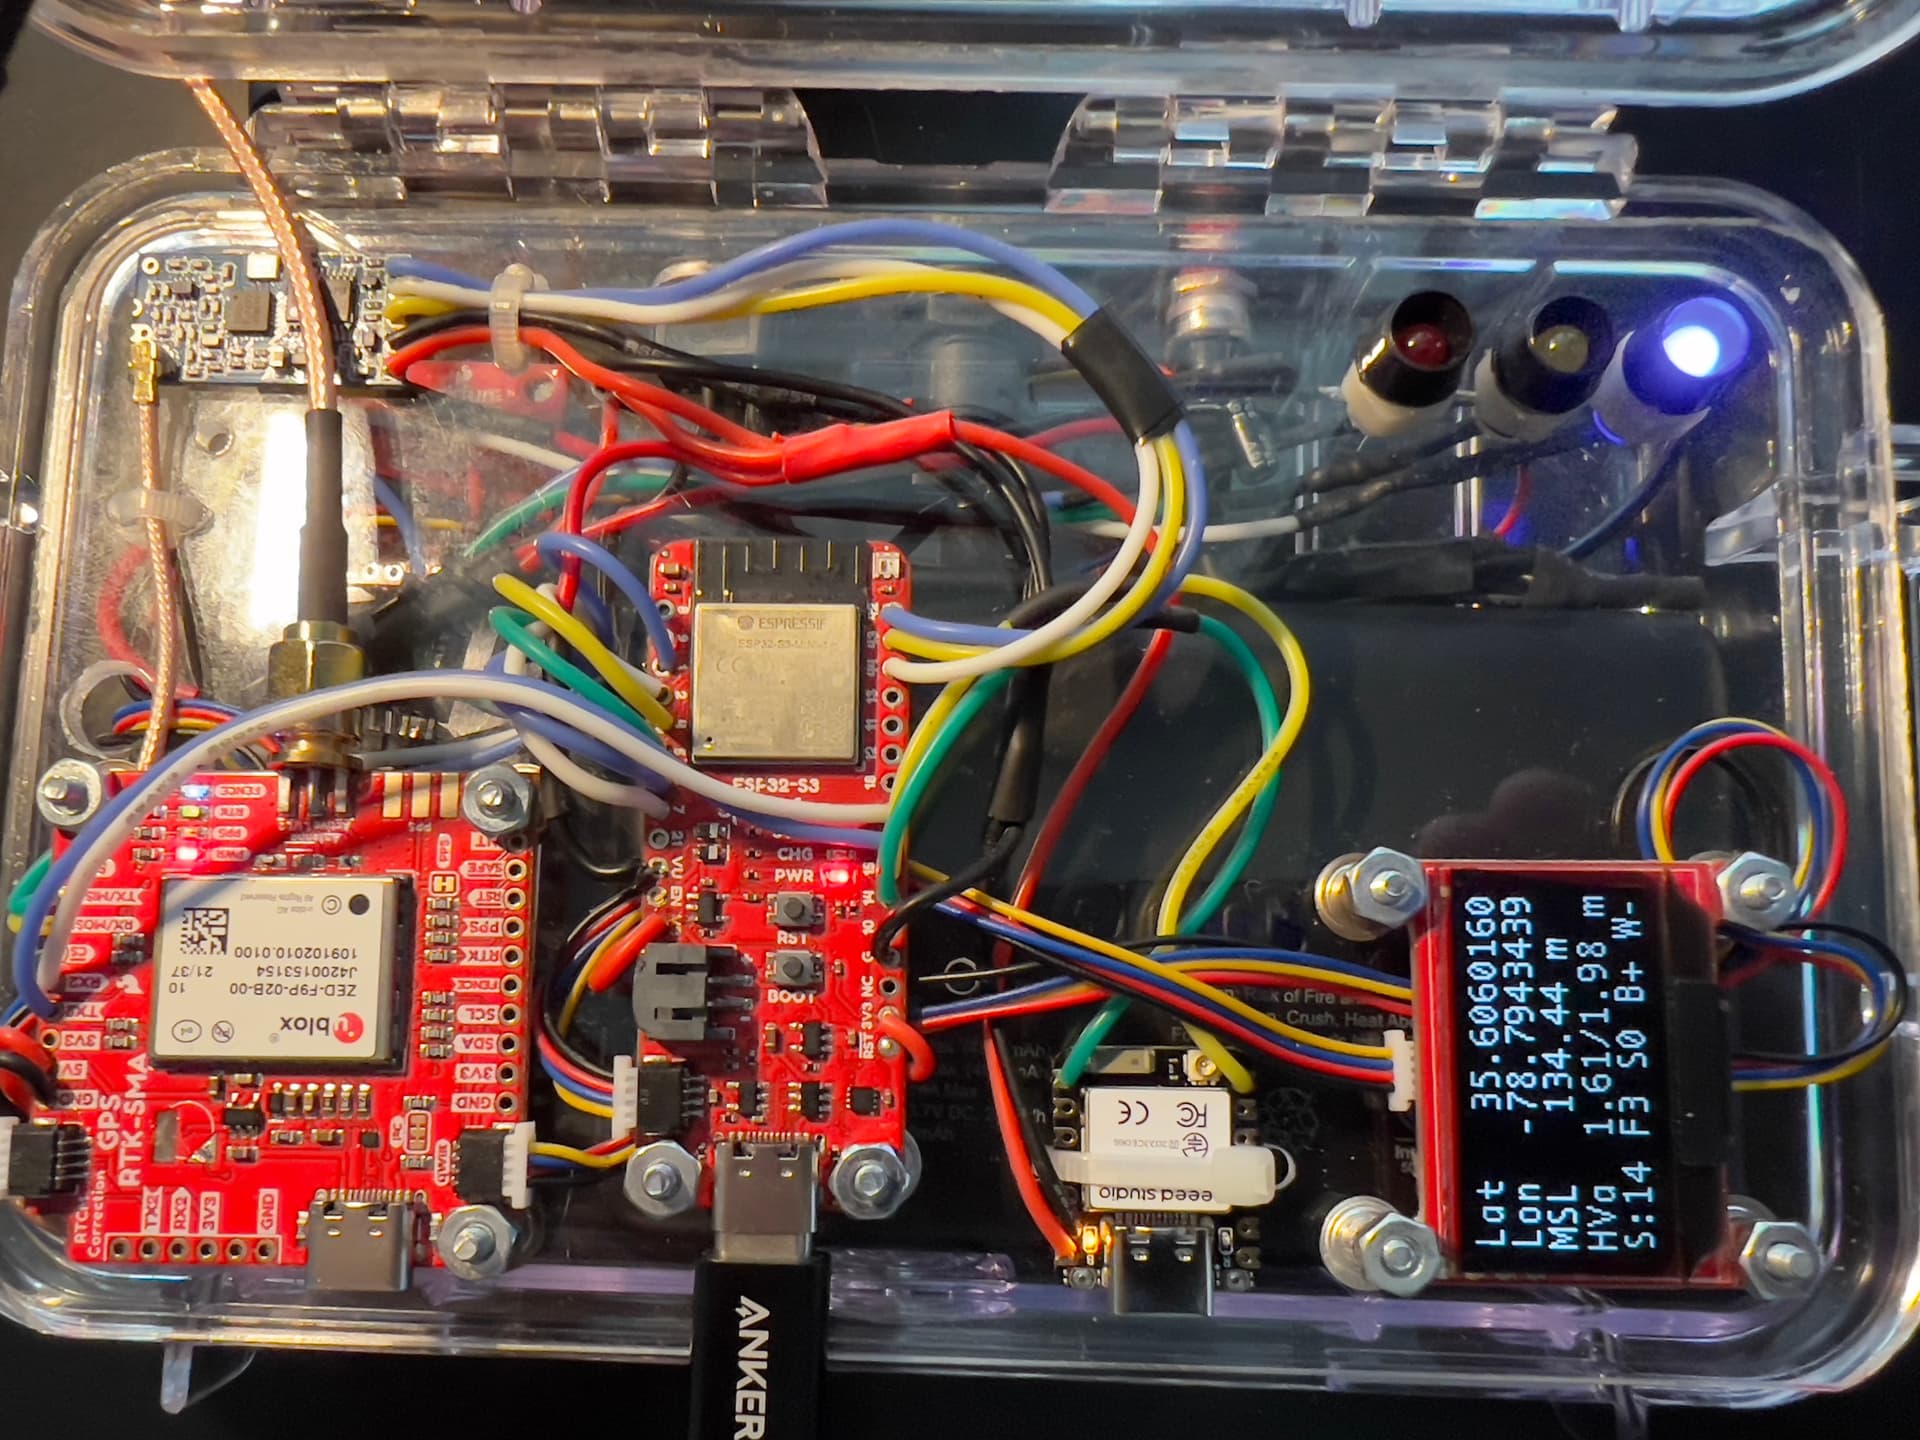
you can see that the battery is soldered to the board and has one tab at 10 o’clock and a second tab at 2 o’clock - which seems to run under the battery.
I found no docs listing the specific model # of the battery used on the RTK-SMA.
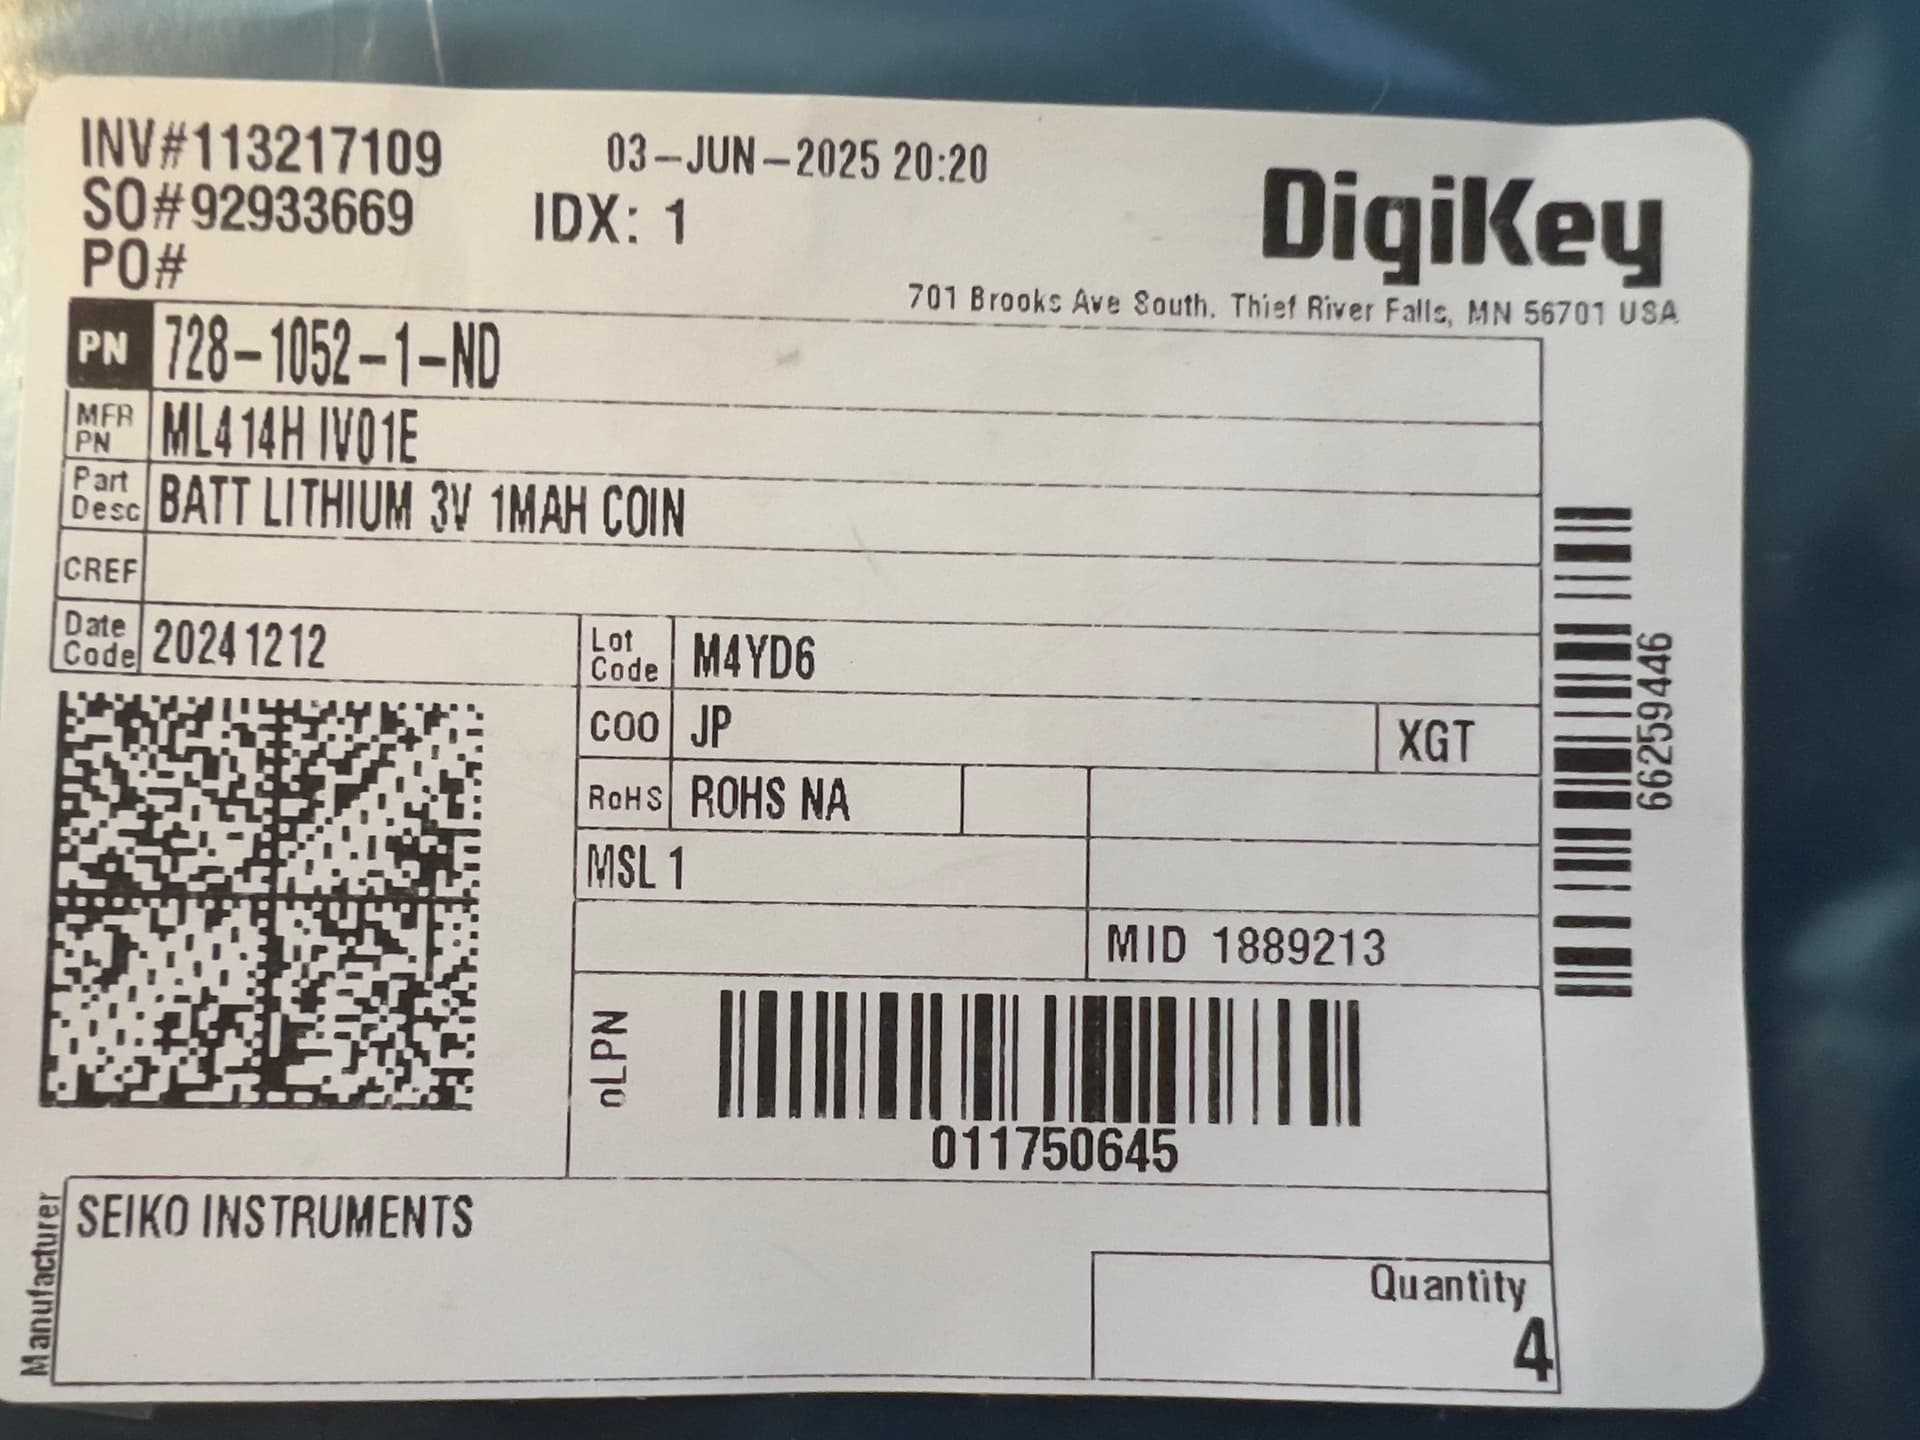
However, finally, after digging into the Eagle files for the RTK-SMA (specifically Qwiic GPS-RTK-SMA - ublox ZED-F9P.sch), I found that the battery is a SEIKO ML414H-IV01E.
I suspect I’m not the only one who is going to need to replace this battery … but maybe just the first.
Sparkfun doesn’t sell it and I don’t trust the one seller on Amazon who has 4 @ $19.78 each (plus shipping).
Does anyone have a source suggestion for this? Also, tips for removal & replacement? It looks like a tricky job.
Thanks!
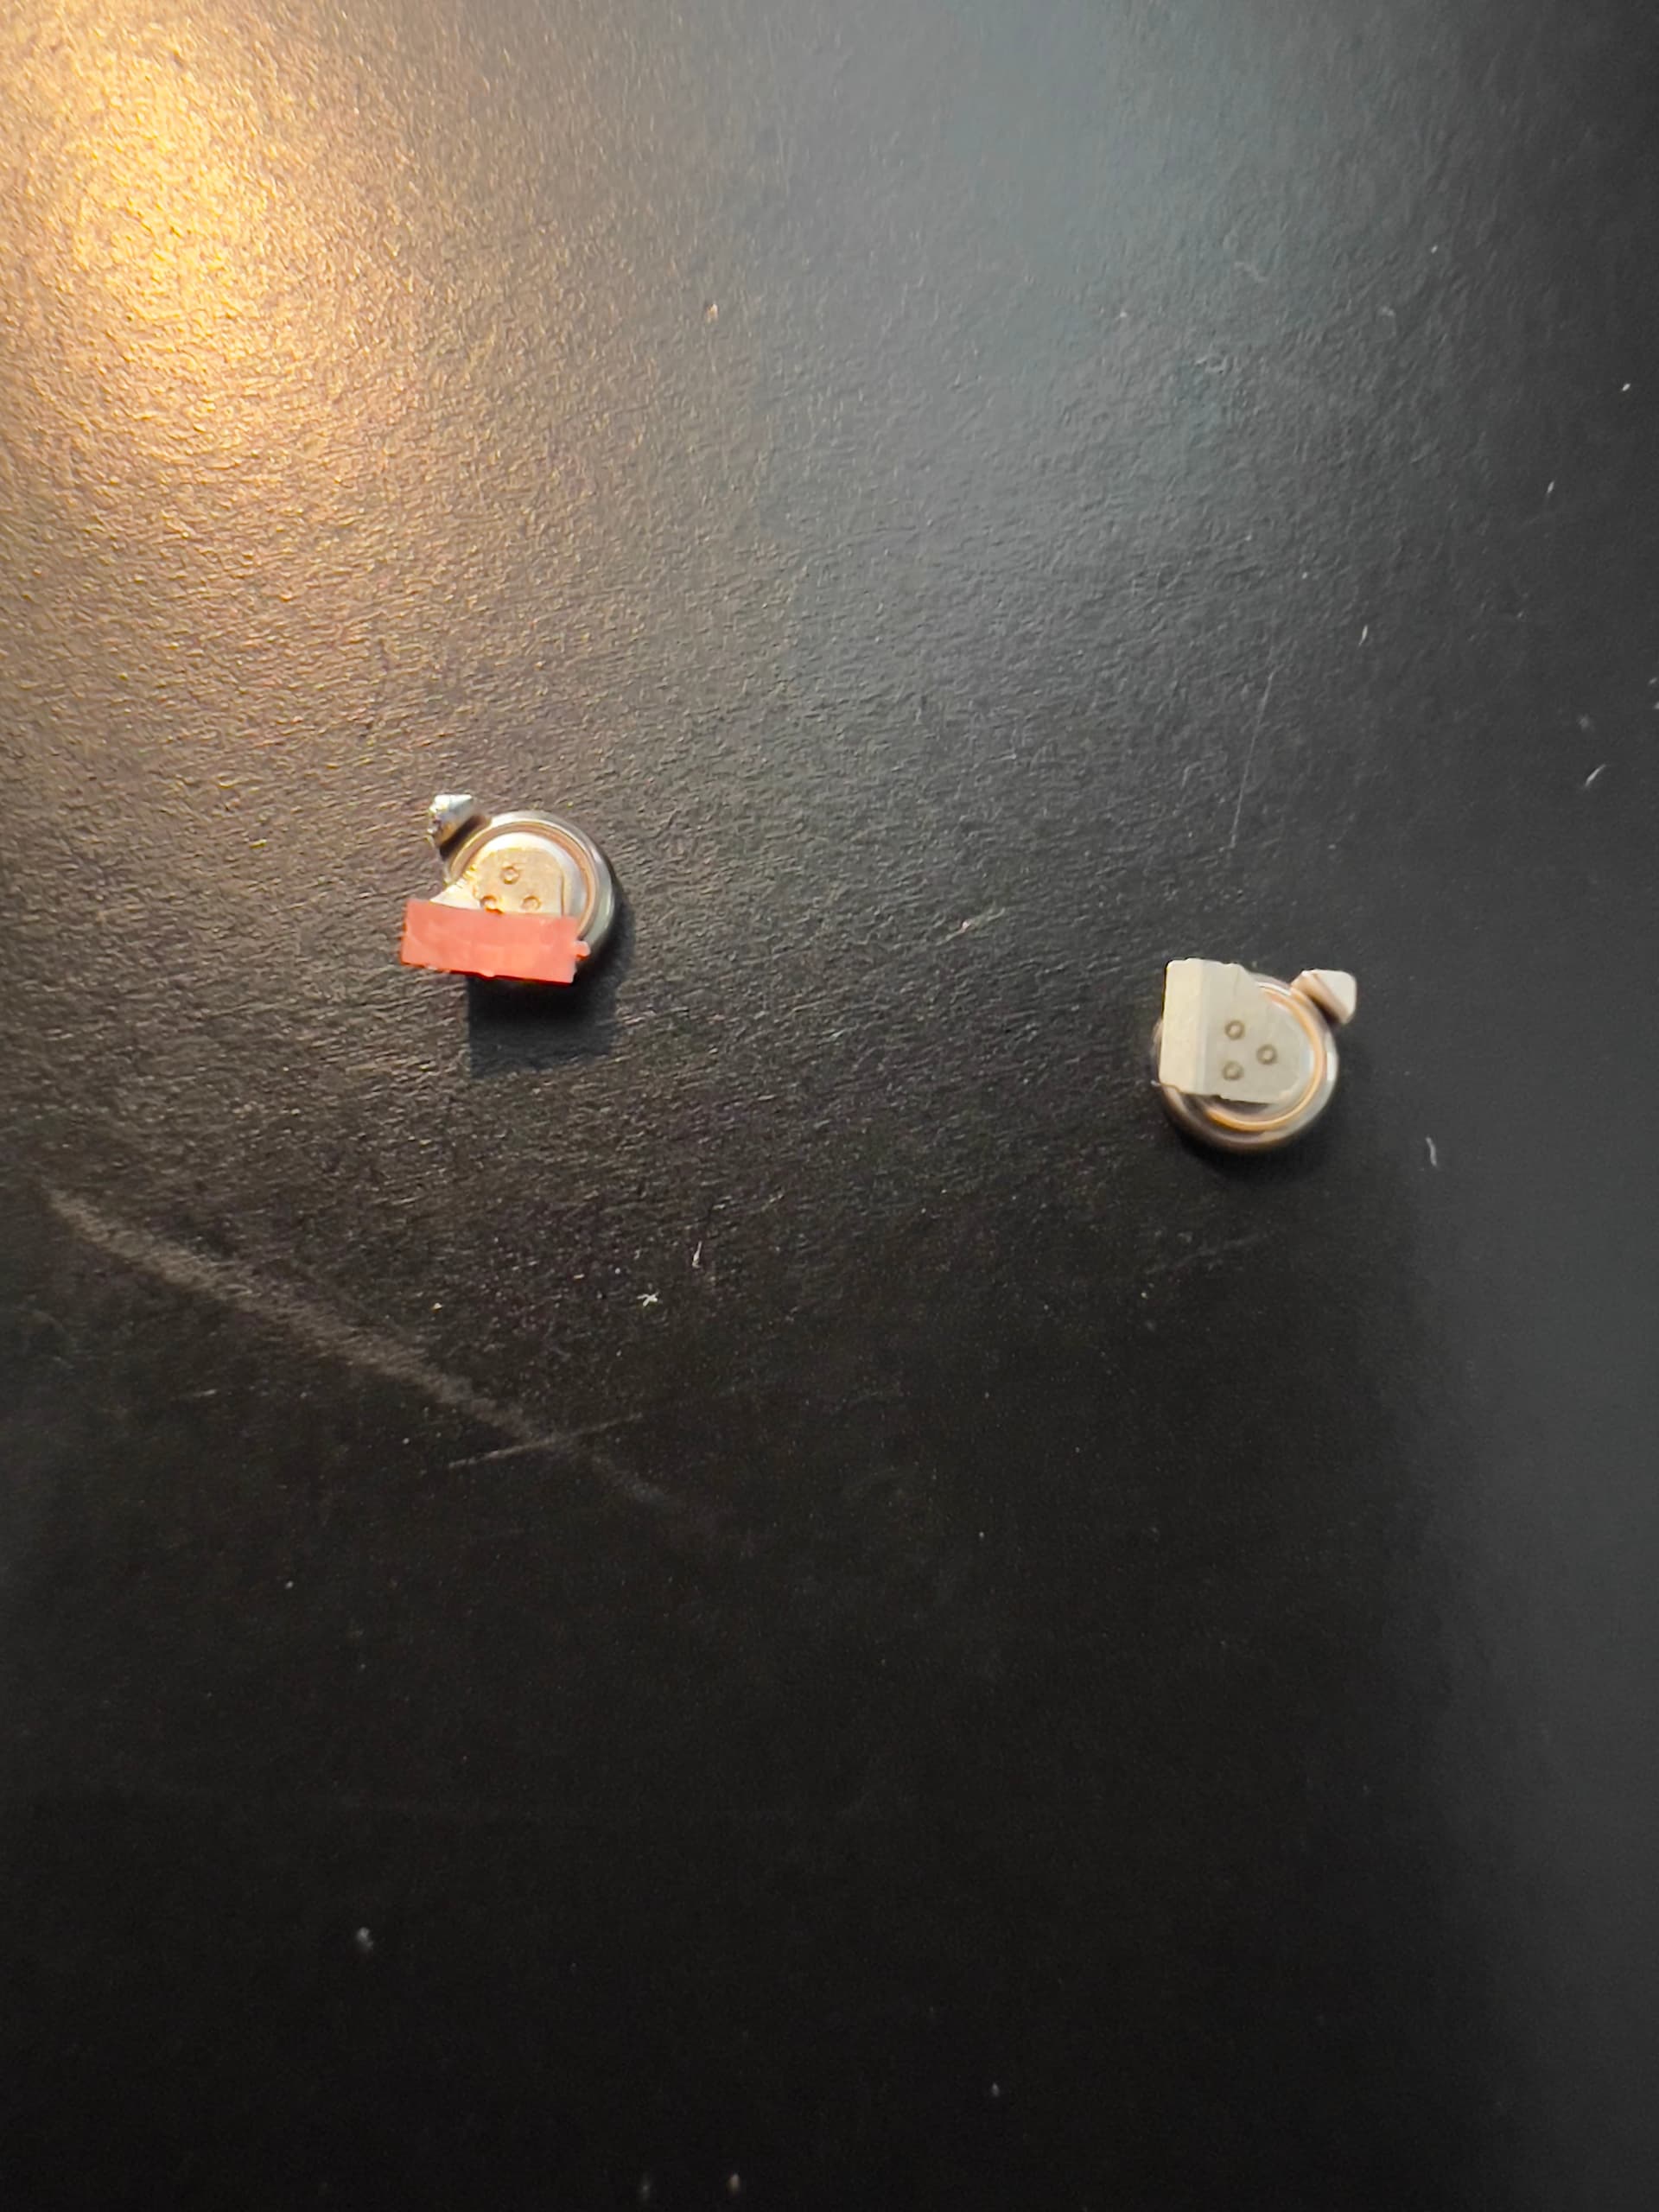
PS - The RTK2 uses a different battery design (MS621FE-FL11E) - it looks like it would be much easier to swap.
The MS621FE needs to be hand-soldered. The ML414H can be reflowed. That’s why we migrated to the ML414H…
Removal:
Use a scalpel or very small screwdriver to gently lift each side of the battery as you heat each contact with the iron. Swap between the two, lifting the battery seesaw fashion a little at a time, until you have a large enough gap to ‘break’ each solder joint.
Replacement:
Use your solder sparingly. Put a little on both pads, then place the battery, then press each contact down with the iron to create the joints - without adding more solder. It’s easy to create a short between the larger negative contact and the positive cell body if you use too much solder. Check with a meter afterwards.
Definitely had to hunt for it. Maybe listing it in one of the docs would be helpful to others in the future. But then, maybe this thread will help too.
Great! Links! Looks like $1.84 (battery) + $6.99 (FedEx ground shipping) + tax from DigiKey. And they have 15,000+ in stock so immediate shipping. $15.39 for four batteries (you know … just in case) and they’ll be in NC in 4 days. That works for me!! Just ordered.
Add in Paul (Mission Impossible) ZC’s super helpful soldering guidance (he’s truly a wizard), and I’m one happy camper.
I finally got the nerve up to replace the battery. First I checked the current battery (1.5v), then the replacement battery from DigiKey (package says 3V, I measured 2.46v). Not sure if I should have had a higher reading, but I forged ahead.
Did as you suggested, gently heated the right side, lifted with an X-acto, it popped up. Whew!
Moved to the left side, repeated the process, and it too lifted up & the battery was loose.
One problem - the left side brought up the mounting surface from the PCB!
Dang it!! My Weller WE1010 iron was at 696F (what I solder at). And I have really been practicing my solder skills so I feel my technique was good. Minimal tip contact time.
I fired up the rover, the RTK-SMA still seems to be working ok, but I’m back to cold starts.
Any suggestions Paul? I’m not sure I even see the PCB trace for the + side of the battery.
Posting here to help the next soul who travels this road.
Oh dear… It happens… I’ve been reworking boards for 40 years and I still occasionally lift pads off the board like this…
But you should be able to recover this without too much difficulty. You’ve lifted the rectangular GND pad off the board. You should be able to scrape away the red solder resist from the edge of the surrounding ground plane. Use the tip of a scalpel blade at a shallow angle; working left-right with gentle strokes. You will start to shave off thin layers of resist; keep going until you reveal copper. Tin that with solder, and then solder the very edge of the battery 0V tag to it. Finish by soldering the triangular +ve tag.
You should write a book Paul. Everyone talks code, configs, & connections. But repairs are inevitable! Great description, not just what to do but how to do it as well. Thanks for the guidance once again Paul. Away from home this week, but will do surgery next week when we’re back.
Success … that worked! Hot starts again. Thanks Paul!
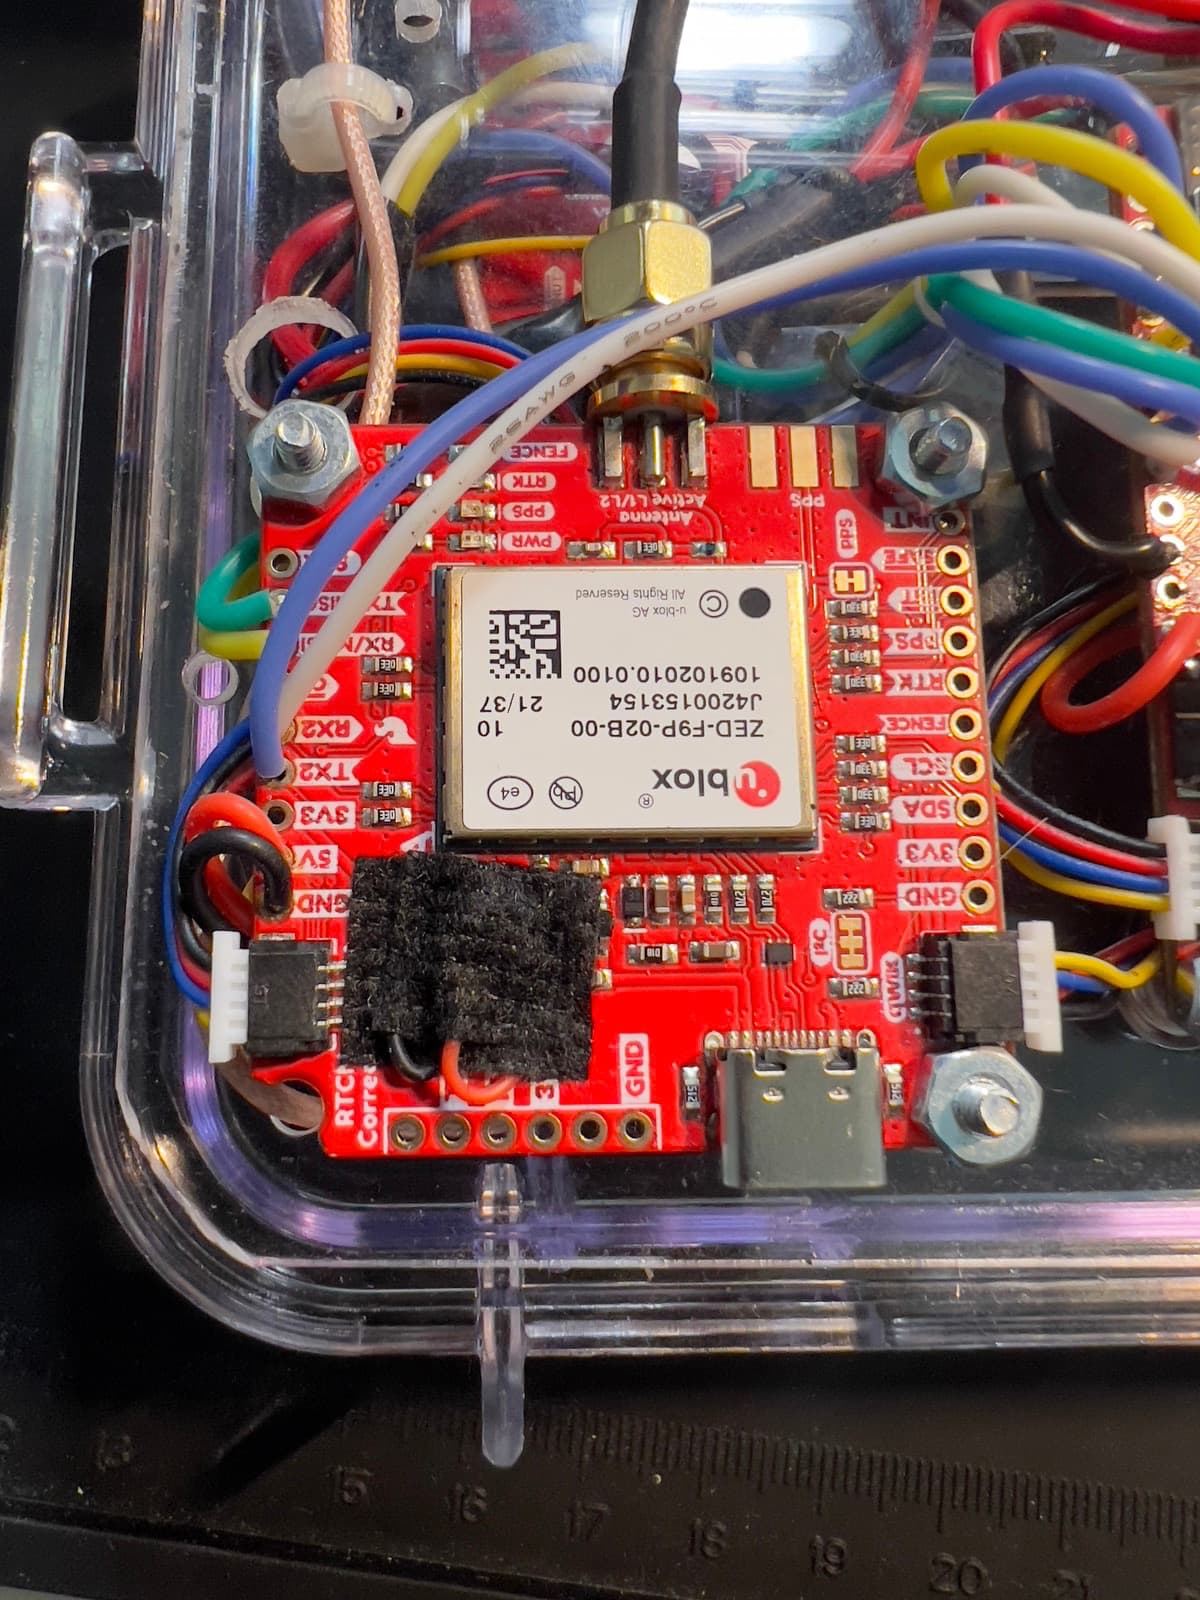
Rather than solder the new battery to the board, I used two short runs of 30 AWG soldered to the battery (photo before defluxing), then black cloth tape to secure.
